Set Up Dynamic DNS (DDNS) on Your Router
Introduction Dynamic DNS (DDNS) is used to access your home network from anywhere in the world using a simple domain/web
WDS Bridge Configuration in routers
Introduction Wireless Distribution System (WDS) is an option that allows wireless networks to be connected without the need for cables.
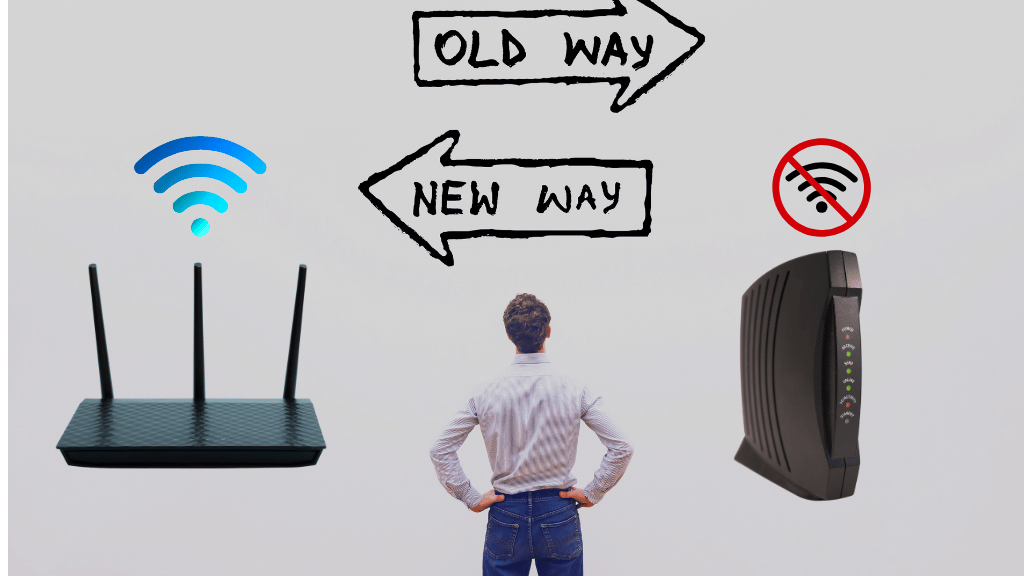
Main Difference Between Modems and Routers
Modems and routers are useful devices in our home or business network but are used for different purposes. Understanding the
How to Set Bandwith Control on Tp-link Router TL-WR845N
In this article, we will learn how to set bandwidth control on a Tp-link router First of all, we need
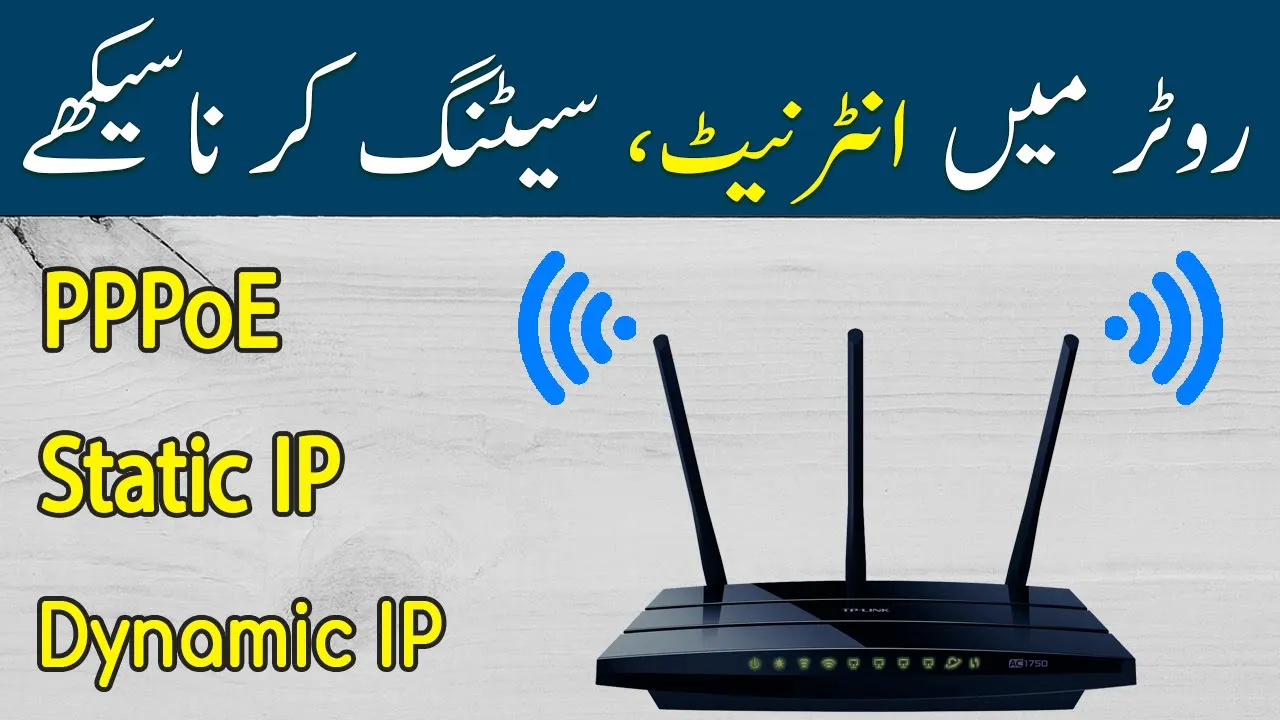
How to configure internet setting in Router PPPoE / Static IP / Dynamic IP
In this post, I will tell you how to set up an internet setting in a router. There are main

Tenda N301 How to change Wi-Fi Password.
In this article, we will discuss how to change the WIFI password in Tenda n301 routers. Step 1: We need
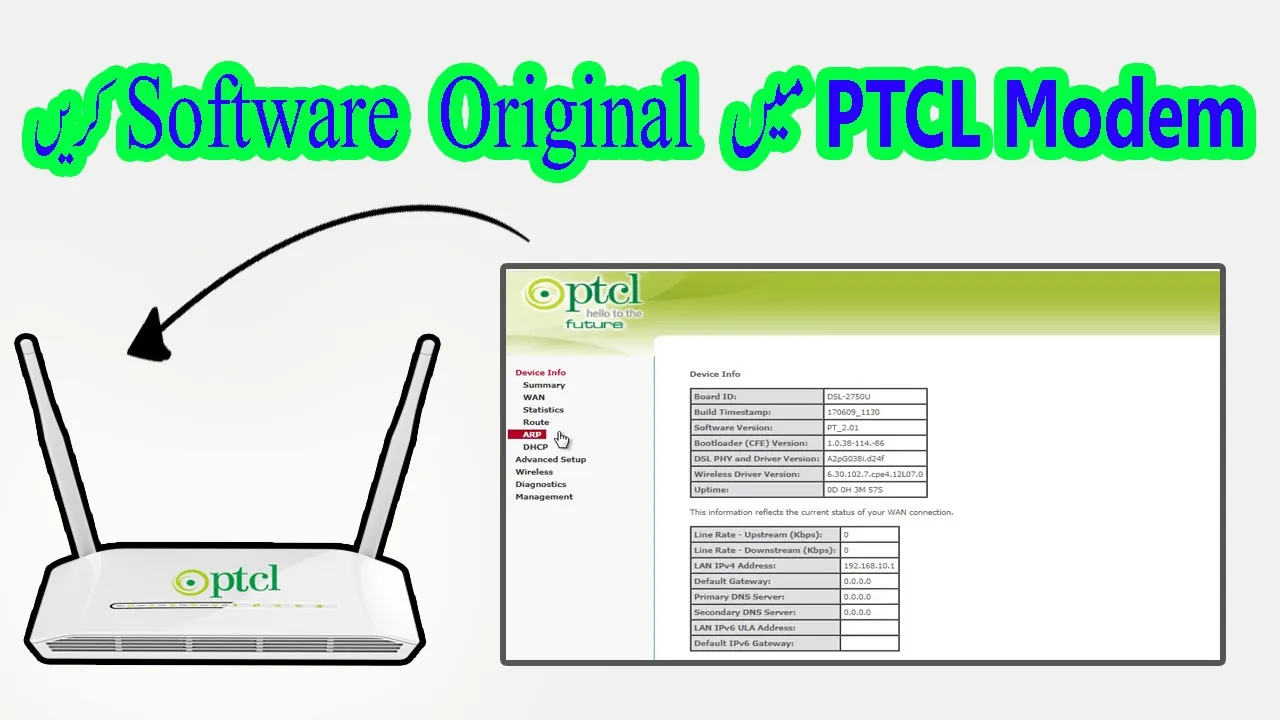
PTCL Original Software
In This Article, we will learn how to update PTCL’s original software. First of all, connect your modem to the

Tenda Software for PTCL Modem
In this article, we will learn how to install Tenda software in PTCL Modem. So first of all we need